How to Manually Change Network Carrier on iPhone
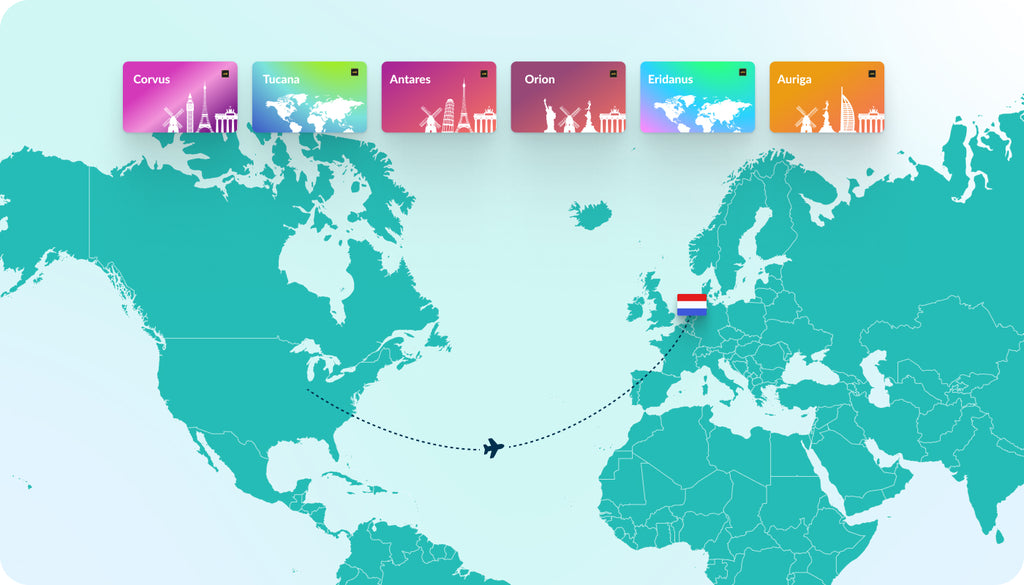
When you take a trip to another country, your iPhone automatically adopts a mobile phone network from your visiting place. Experienced travelers already know which service has the fastest network or the best features, so they can manually connect to the preferred network in their destination country. Hence, you might not be traveling, but you want to use the best carrier available in your region. It’s when the possibility to manually change the carrier on your smartphone comes in handy.
5 Steps to Changing Network Carrier on iPhone
To manually change network carrier on your iPhone, take the following steps:
- Tap on the Settings app on your iPhone's home screen.
- Scroll down and select Cellular (or Mobile Data depending on your region).
- Tap on Network Selection. By default, this option is set to Automatic.
- Toggle off the Automatic switch. This will allow your iPhone to search for available networks.
- Wait a few moments for the list of available carriers to appear. Select your preferred carrier from the list.
Once you select a network, iPhone will only use that network.
How to Switch Back to Automatic Network Selection
Please mind that the steps may differ based on your iOS version, device type, and location. When manually choosing a network, your phone will connect only to that specific network, and you’ll lose service if you move out of its coverage area. To return to automatic selection, simply turn the "Automatic" option back on.
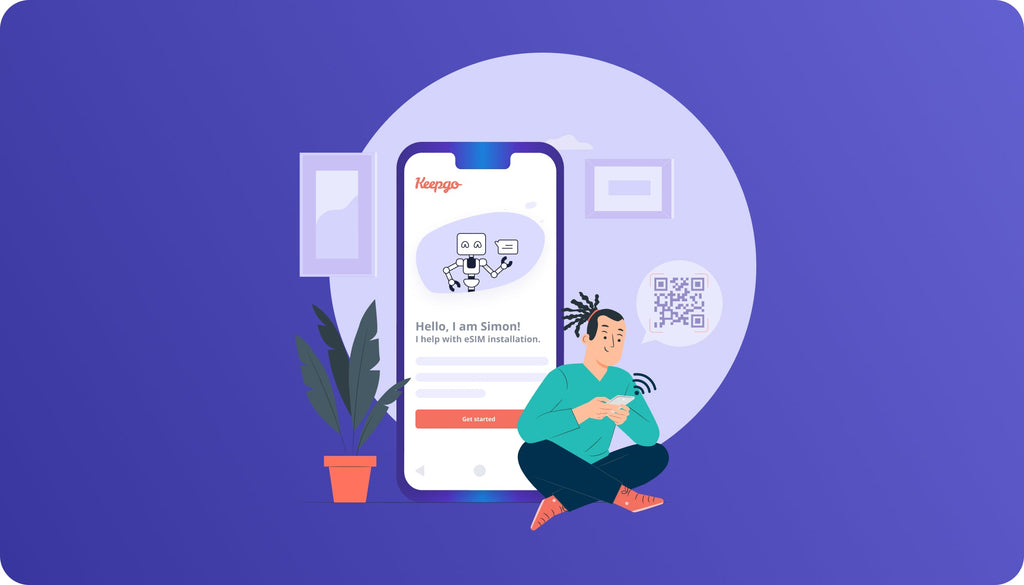
How to Manually Choose Mobile Network with Keepgo eSIM
Using Keepgo products, particularly eSIM bundles, you can also manually choose networks on your device:
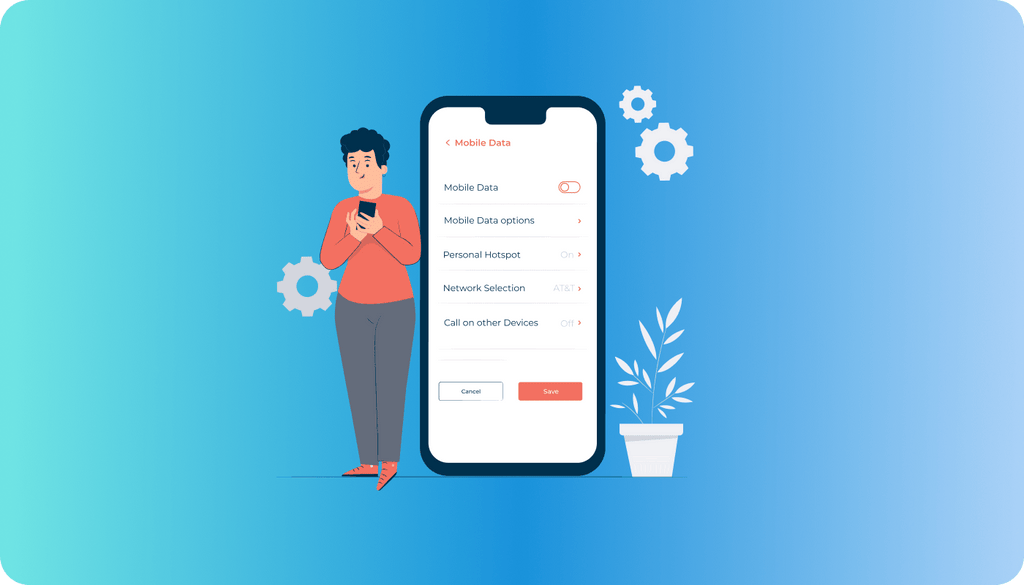
- Press Settings;
- Select Mobile Data
- Choose Mobile Network;
- To select the network manually, press the indicator next to Automatic until the function is deactivated;
- You will see a list of the network operators available. Click on the required network.
If the network is unavailable or Keepgo has no roaming agreement with the network carrier, “No service” will appear on the iPhone screen and you won’t be able to make or receive calls or visual voicemail, or connect to the Internet via cellular network.
Set Network Settings to Automatic when you are back home.
 |
Learn more about our products and plans |
| Check our plans |
Learn more about our products and plans |
|
|
| Check our plans |